우선 penpot과 figma가 무엇이냐?
Penpot: The Design Tool for Design & Code Collaboration
간단하게 이야기하자면 디자인 툴입니다
뭔가를 개발하면서 디자인을 할 때 협업을 편하게 해주는 서비스라고 보시면 될 거 같습니다
게시글을 보다가 figma 이야기가 있어서 찾아보니 figma는 자체 호스팅이 불가능하고
penpot이라는 오픈소스 프로젝트가 있더라고요
우선 설치는 간단하니까 바로 시작해 봅니다
우선 역방향 프록시 설정을 해줘야 합니다
서버ip:9010 을 역방향 프록시로 설정 해주세요
eg. 192.168.0.2:9010 -> penpot.aaa.com
웹소켓 추가하시고 인증서 지정 후 hsts 켜주시면 됩니다
파일 스테이션 실행 하시고
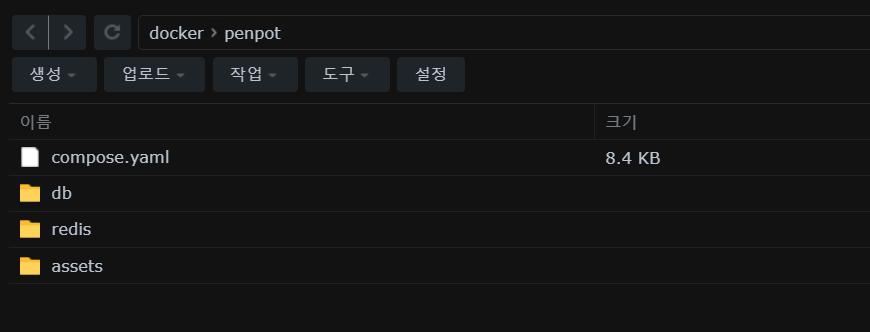
/volume1/docke/penpot 폴더에 세 개의 폴더를 생성 해줍니다
- db
- redis
- assets
그 후에 컨테이너 매니저에서 프로젝트 생성을 눌러 주시고
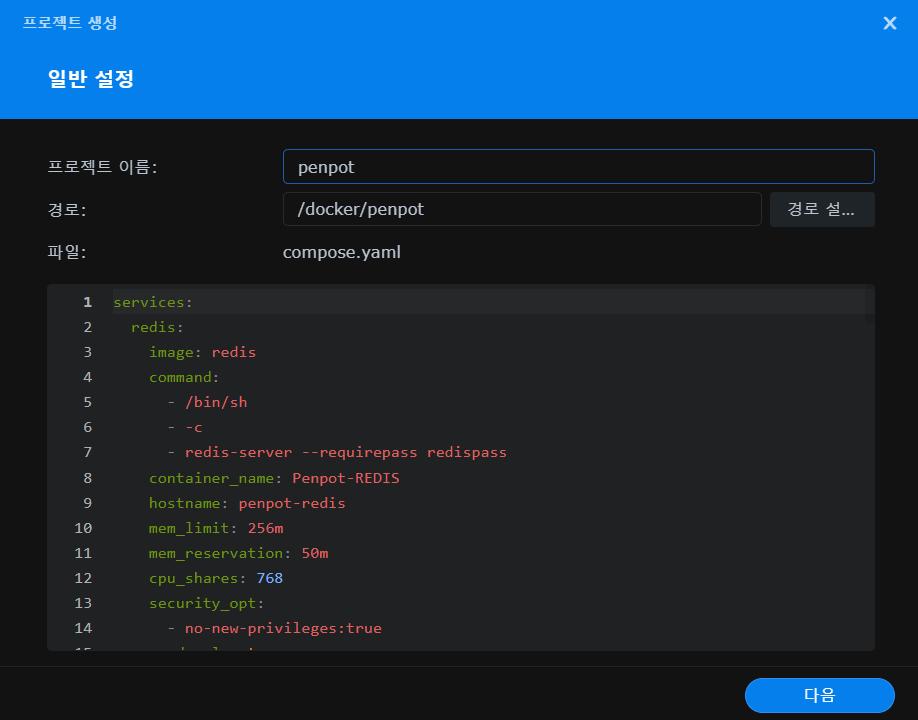
/docker/penpot 폴더 지정 해주시고
쭉 보시다 보면 54번 75번 줄에
코드가 있습니다
역방향 프록시 설정한 주소 입력 해주세요
포트는 우측 포트는 건드리시면 안되고 좌측 9010포트는 안겹치는 포트로 수정 하시면 됩니다만
9010포트가 접속 포트이기 때문에 변경하시면 역방향 프록시도 수정 하셔야 합니다
그 외에 smtp 설정하신 게 있으시다면 설정 값 입력 하시면 됩니다
저는 설정한 게 없어서 그냥 무시했습니다
다 입력 하셨으면 다음다음 생성 누르시면
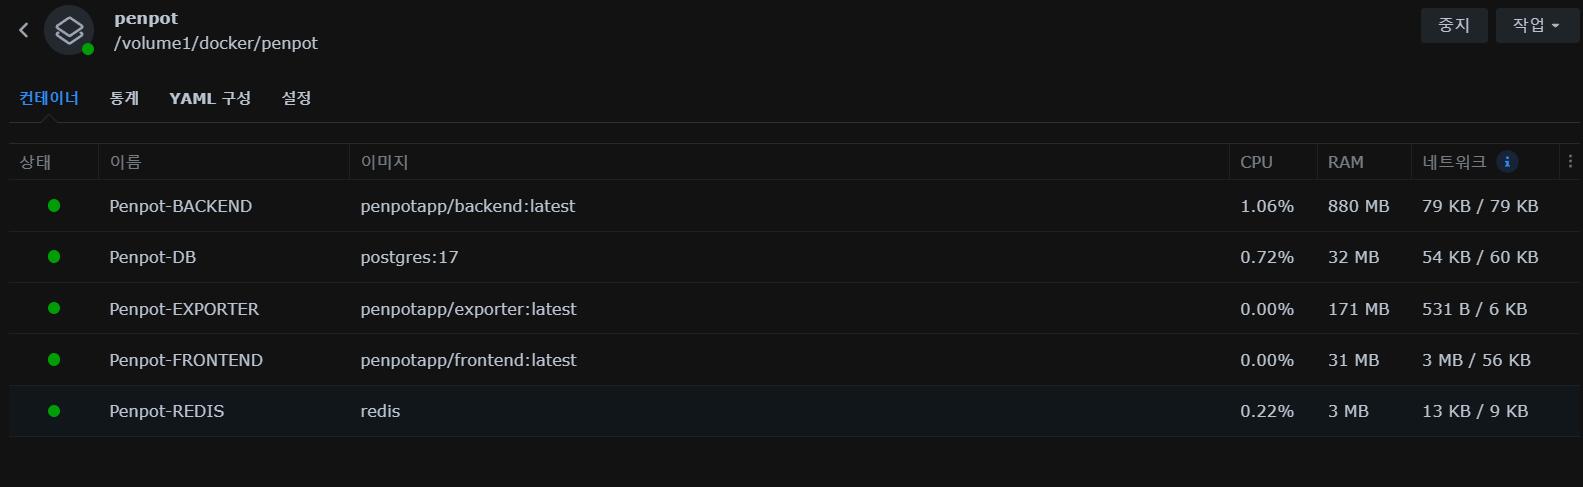
다섯 개의 컨테이너가 실행이 됩니다
설정한 역방향 프록시 주소로 접속 하시면
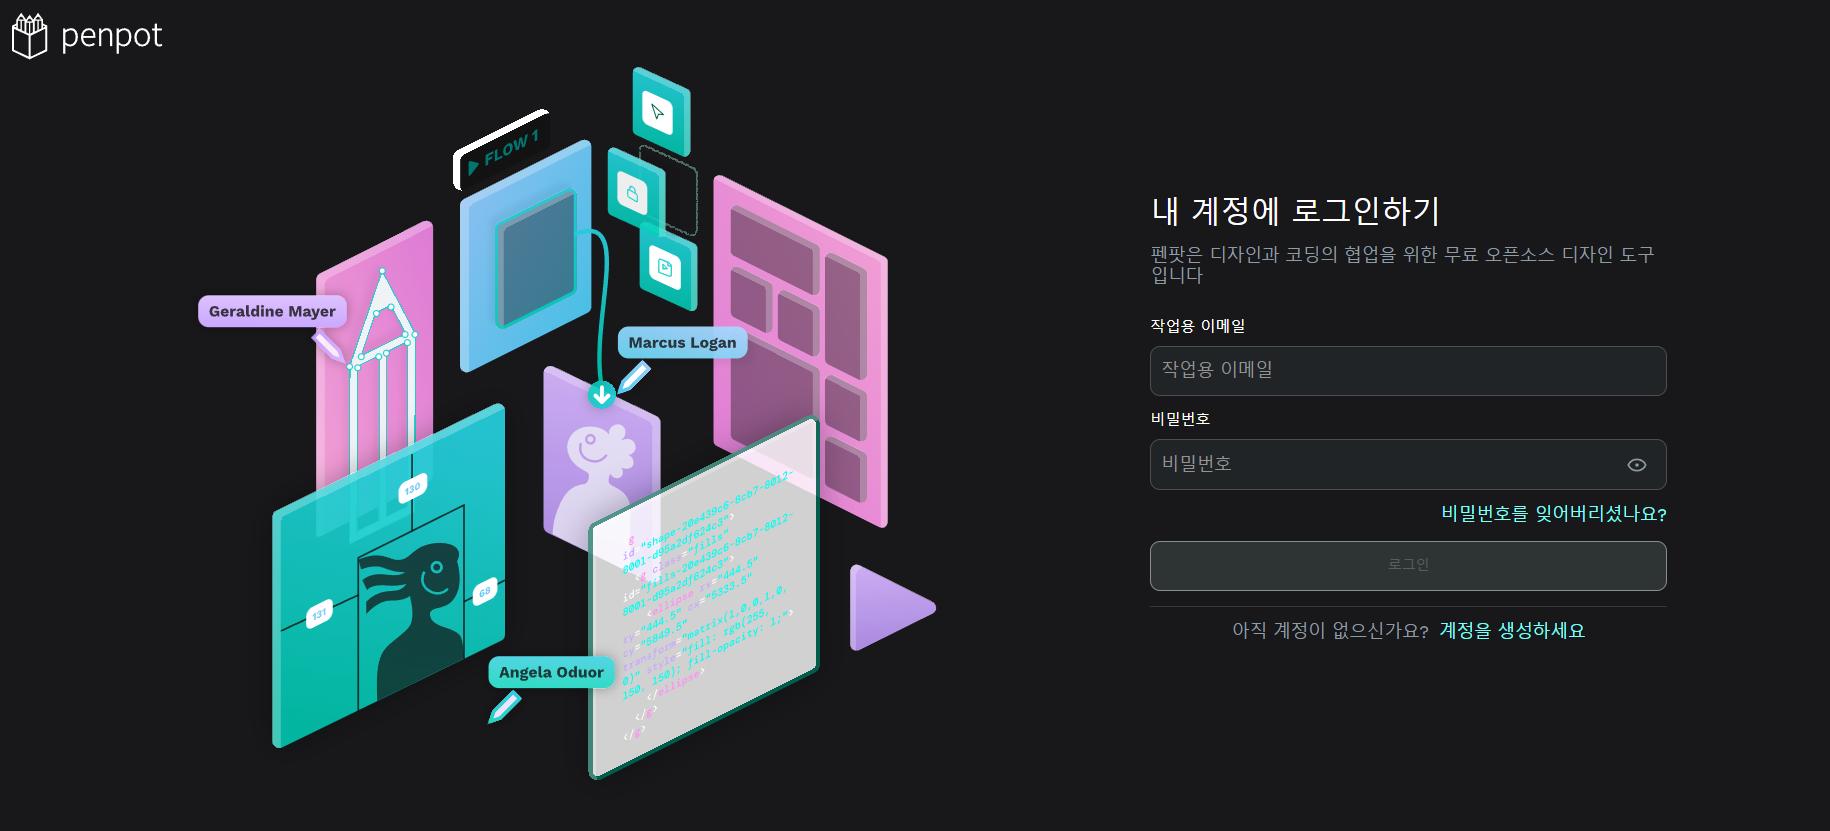
로그인 창이 뜹니다
계정을 생성 해주시고 로그인 하시면
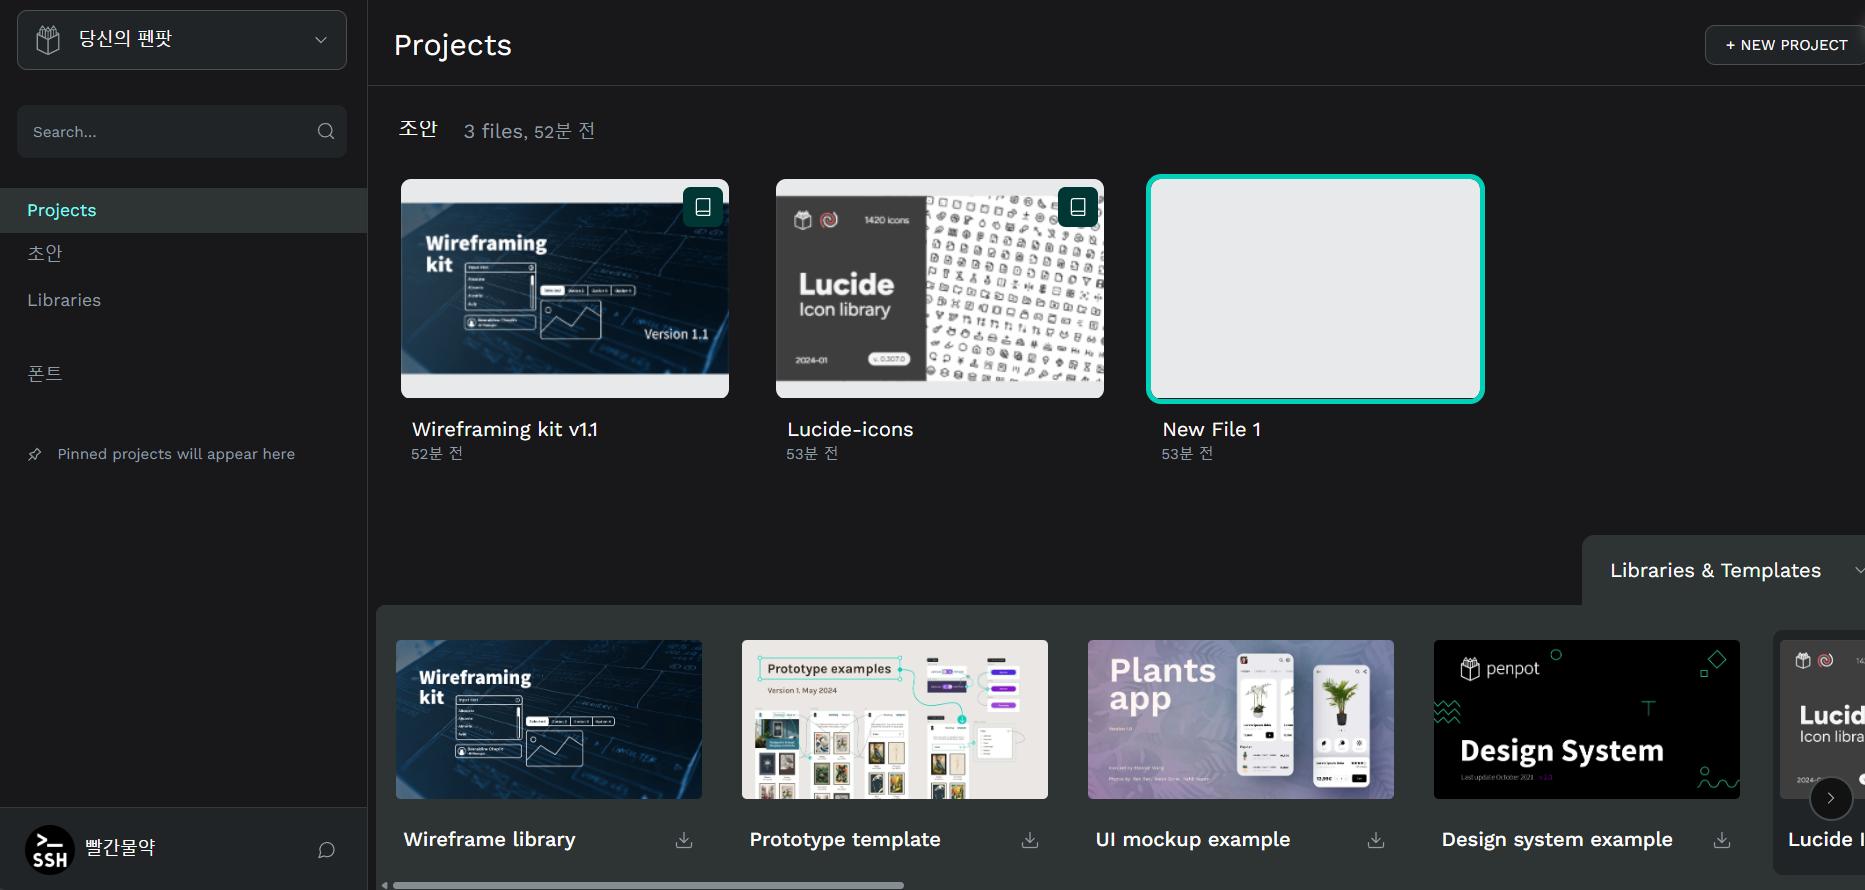
끝 입니다
penpot 설치가 완료 됐습니다
Penpot: The Design Tool for Design & Code Collaboration
GitHub – penpot/penpot: Penpot: The open-source design tool for design and code collaboration
자세한 설정이나 사용법등의 내용은 위의 링크들 확인하시면 될 거 같습니다
참고로 회원 가입 가능 여부나 설정 추가를 하시려면
기본 설정은 69번, 111번 줄의
위의 코드로 설정 돼있습니다
회원 가입을 열어두고 이메일과 패스워드로 로그인 하는 방식이죠
회원 가입을 잠궈두고 CLI로 생성해서 사용하는 방법도 있고
이 외에도 google이나 깃헙, 오픈ID 같은 인증 서비스를 통해서 로그인하는 방식도 설정 할 수 있습니다